Garden Woodchip Ireland
Does wood chip make good paths?
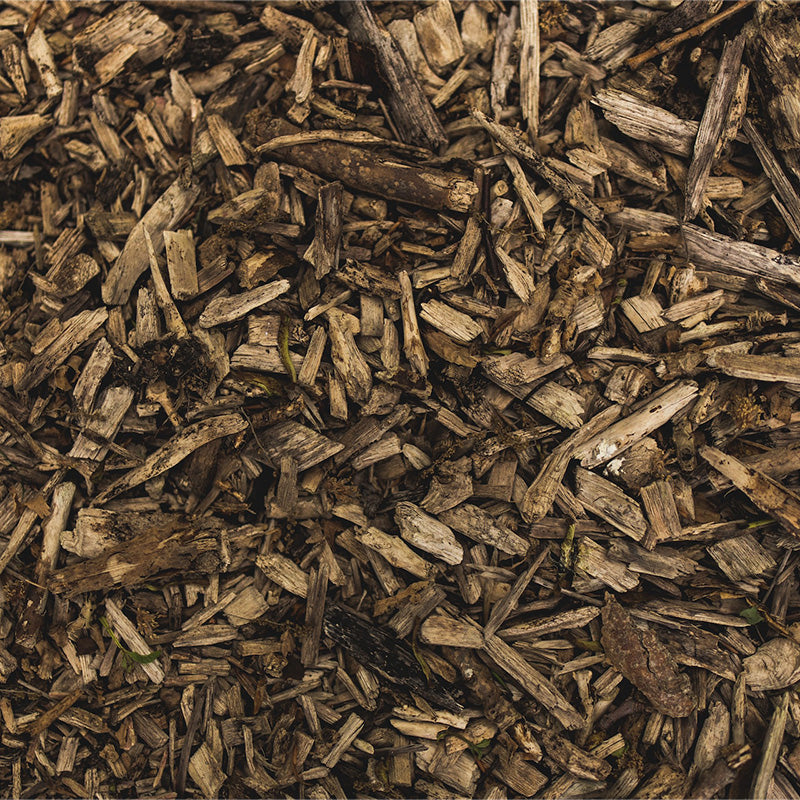
Wood chips are an inexpensive, popular and versatile option for creating a garden path, giving a natural and rustic look to your garden. They offer several benefits, including weed suppression, moisture retention, and a natural aesthetic. In this blog post, we will explore the advantages of using wood chips for garden paths and provide step-by-step instructions for their installation.
Benefits of Wood Chips for Garden Paths:
Natural Aesthetic: Wood chips add a rustic and natural look to garden paths, enhancing the overall appeal of your landscape. They blend well with various garden styles, from formal to informal, and provide a harmonious transition between different garden areas.
Weed Control: One of the significant advantages of wood chips is their ability to suppress weeds. When applied at a sufficient depth (around 2 to 4 inches), wood chips create a barrier that prevents weed growth, reducing the need for chemical herbicides or frequent manual weeding.
Erosion Control: Garden paths are susceptible to erosion, especially in areas with heavy rainfall or foot traffic. Wood chips help mitigate erosion by absorbing water and preventing soil displacement. They create a stable surface that can withstand regular use.
Moisture Retention: Wood chips help retain moisture in the soil by acting as a mulch layer. They reduce evaporation, keep the soil cooler during hot weather, and provide a buffer against temperature fluctuations. This moisture retention is particularly beneficial for plants during dry periods.
Installation Steps:
Plan the Path: Determine the desired route of your garden path. Consider the flow of foot traffic, accessibility, and any existing features you want to highlight or avoid. Use stakes and string to mark the path's edges, ensuring a clear visual guide during installation.
Prepare the Area: Clear the path area of any existing vegetation, rocks, or debris. Use a garden rake or shovel to level the ground and remove any unevenness. It's essential to create a smooth base for optimal wood chip installation.
Edging: Install edging along the path's edges to maintain the wood chips' containment and prevent spreading into adjacent areas. Edging options include plastic, metal, brick, or natural materials like stones or logs. Place the edging material securely along the marked path, ensuring it sits slightly above ground level to prevent wood chips from spilling over.
Landscape Fabric: Consider laying landscape fabric as a weed barrier before spreading wood chips. While not essential, it provides an extra layer of weed suppression. Roll out the fabric along the path, overlapping the edges and securing it with landscape fabric pins.
Spread Wood Chips: Start spreading wood chips evenly along the path, working from one end to the other. Use a wheelbarrow, shovel, or rake to distribute the wood chips to the desired depth, typically around 2 to 4 inches. Ensure that the wood chips reach the edges but do not overflow the edging.
Level and Compact: Use a rake or shovel to level the wood chips, ensuring an even surface. Gently compact the wood chips with a tamper or the backside of a shovel to provide a firm and stable path. This step helps prevent shifting and unevenness over time.
Maintenance: Regularly inspect the path for any signs of weeds or bare spots. Remove weeds manually or use an appropriate herbicide if necessary. Every year or two, add a fresh layer of wood chips to replenish the path's appearance and benefits.
By following these steps, you can create an attractive and functional garden path using wood chips. Enjoy the natural beauty, weed-free environment, and improved moisture retention that wood chips provide while traversing your garden with ease!

